
The WordPress Manager is your command center for automation, testing, and security. Below is a detailed breakdown of the most powerful tools available in your dashboard.
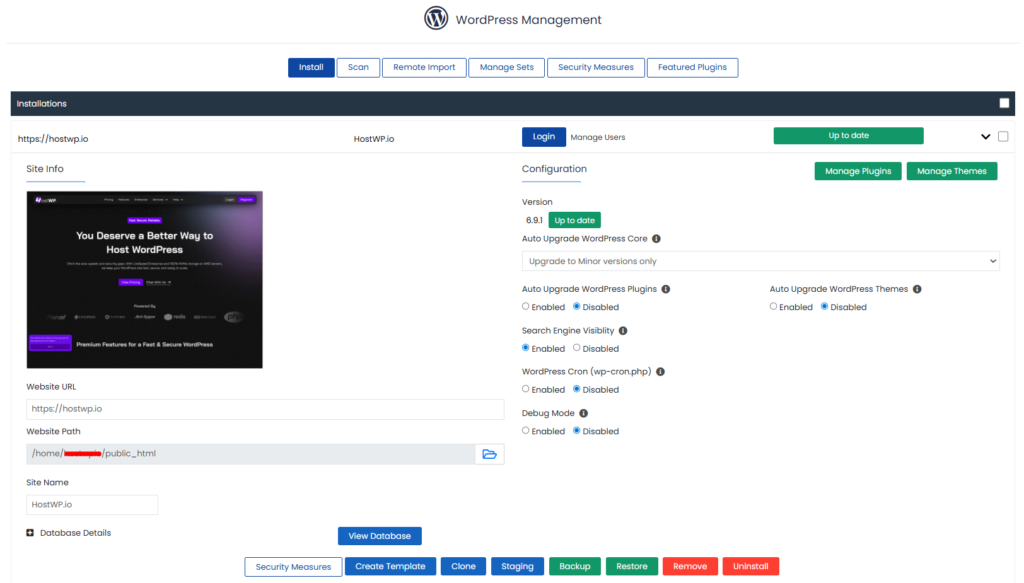
1. Create Template
What it is: A feature that saves a “snapshot” of a fully configured WordPress installation, including its themes, plugins, and core settings.
How to use it:
- Set up a WordPress site exactly how you like it (install your favorite page builder, SEO tools, and security plugins).
- In the WordPress Manager, locate that site and click the Create Template button at the bottom.
- Give your template a name.
- When installing a new site in the future, select this template from the setup screen to deploy your “pre-built” environment instantly.
Why use it: This is the ultimate tool for agencies. Instead of spending an hour configuring every new client site from scratch, you can deploy your “signature stack” in 60 seconds.
2. Clone
What it is: A tool that creates an exact, functional carbon copy of your website on a different domain or subdirectory.
How to use it:
- Identify the source site you want to duplicate.
- Click the Clone button.
- Choose your destination (e.g., moving from
test.site.comtolivesite.com). - The manager automatically handles the database search-and-replace, so all internal links work on the new URL.
Why use it: Perfect for “migration by duplication.” If you built a site on a development URL and need to move it to a client’s live domain, Cloning is the safest and fastest method.
3. Staging
What it is: A specialized “sandbox” version of your live site where you can work behind the scenes without the public seeing your changes.
How to use it:
- Click the Staging button next to your live site in the WordPress Manager.
- Point your Sub-domain: Before proceeding, ensure the sub-domain you intend to use (e.g.,
staging.yourdomain.com) is already added to your cPanel -> Domains and that its DNS A Record is pointed to your HostWP server IP. - Select that sub-domain from the dropdown menu in the Staging setup screen.
- Perform your updates, design changes, or plugin tests on this private version.
- Once ready, use the Push to Live feature to sync those changes back to the live site.
Why use it: It eliminates the risk of “breaking” your live site. You can test major plugin or theme updates safely before committing them to your production environment.
Note: If you are using a subdomain for an active site still hosted elsewhere, please follow our guide on Setting up a Staging A Record first.
💡 Pro Tip: Staging vs. Clone
- Use Clone when you want a permanent, separate copy of a site.
- Use Staging when you want a temporary playground to test updates before applying them to your live site.
4. Security Measures
What it is: A suite of “hardening” tools designed to protect your WordPress installation from common vulnerabilities.
How to use it:
- Click the Security Measures button.
- Review the checklist of recommended actions (such as changing the admin username, hiding the
wp-config.phpfile, or disabling script execution in the uploads folder). - Apply the measures with a single click.
Why use it: Even with HostWP’s server-level security, hardening your specific WordPress install adds an essential layer of defense against bots and brute-force attacks.