




You upload a beautiful photo to your WordPress site, but your page loads slowly, causing visitors to leave. Google bot doesn’t crawl your entire page and eventually drops indexing all your pages. The culprit is often large, uncompressed images.
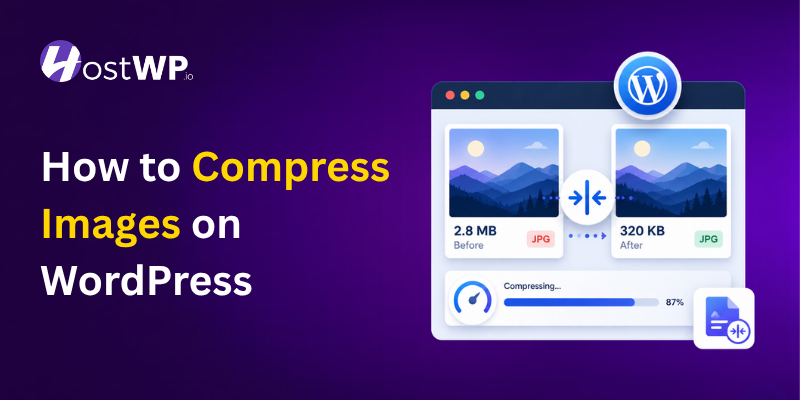
Compressing images reduces file size without noticeable quality loss. This guide shows you exactly how to compress images on WordPress using plugins, manual tools, and server-level optimizations.
By the end, you will know multiple methods to shrink image files, improve page speed, and boost search rankings. No coding experience required.
Why Compressing Images on WordPress Matters
Large images are the most common cause of slow WordPress sites. A single 5MB photo can triple your page load time compared to a properly compressed <100KB version.
Faster sites keep visitors engaged. Google uses page speed as a ranking factor. Compressed images also reduce bandwidth usage, lowering hosting costs over time.
Modern formats like WebP can shrink files 25-35% smaller than JPEG or PNG while maintaining visual quality. Combining compression with lazy loading delivers the best performance gains.
Before You Start: Quick Checklist
Gather these items before compressing images on your WordPress site:
- Backup your site using your hosting dashboard or a plugin like Duplicator
- Note your current page speed score using Google PageSpeed Insights
- Identify large images using your browser developer tools or a plugin like EWWW Image Optimizer.
- Decide whether you prefer automatic plugin compression or manual control
Method 1: Compress Images Using WordPress Plugins
Plugins offer the easiest path to image optimization. They compress new uploads automatically and can bulk-optimize existing media library items.
EWWW Image Optimizer uses smart compression algorithms to reduce file sizes while maintaining sharp visual quality. It handles JPEG, PNG, GIF, WebP, and AVIF formats with flexible optimization settings for any workflow.
Setup steps:
- Install and activate EWWW Image Optimizer from Plugins > Add New in your WordPress dashboard
- Run the initial setup wizard to configure automatic compression for new uploads
- Select your preferred compression mode: Lossy for smallest files, Lossless for perfect quality, or Custom for manual control
- Enable WebP and AVIF conversion along with lazy loading features in the plugin settings
- Launch bulk optimization for your existing media library from the EWWW settings page
EWWW Image Optimizer offers unlimited free optimization on your own server. Cloud API credits start at $0.50 per 1,000 images, with premium plans from $9/year.
2. ShortPixel Image Optimizer
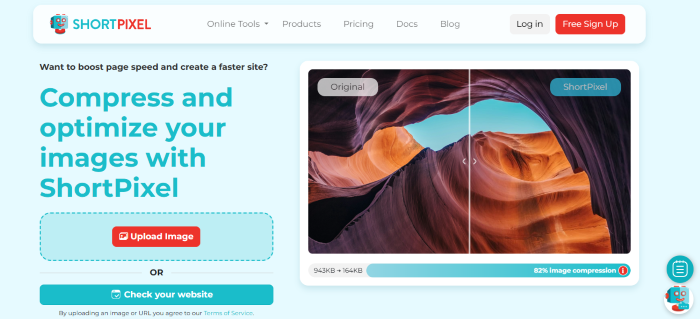
ShortPixel compresses images using advanced algorithms that preserve visual quality. It supports JPEG, PNG, GIF, and WebP formats with adjustable compression levels.
Setup steps:
- Install and activate ShortPixel from Plugins > Add New in your WordPress dashboard
- Get a free API key from the ShortPixel website and enter it in plugin settings
- Choose compression type: Lossy for maximum size reduction, Glossy for balanced quality, or Lossless for no quality change
- Enable WebP conversion and lazy loading options in the settings panel
- Run bulk optimization for existing images from the Media Library page
ShortPixel offers 100 free credits monthly. Paid plans start at $2.99 for 5000 images.
3. Imagify Image Optimizer
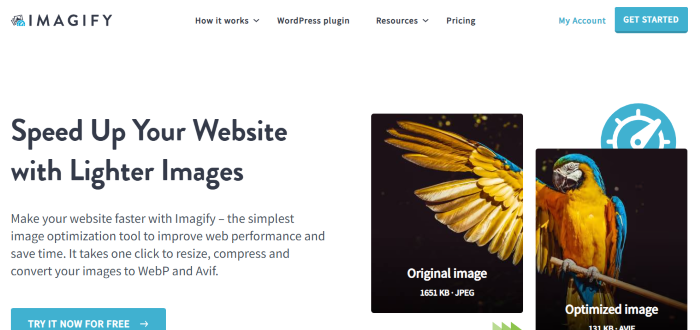
Imagify offers three compression levels and automatic WebP generation. It integrates seamlessly with WordPress media workflows and supports bulk optimization.
Setup steps:
- Install Imagify from Plugins > Add New and activate
- Enter your API key from the Imagify dashboard
- Select normal, aggressive, or ultra compression mode based on quality needs
- Enable automatic WebP creation and lazy loading options
- Run bulk optimization from the Media Library or Imagify settings
Imagify provides 20MB free monthly. Paid plans start at $4.99/month for 1GB.
Method 2: Manual Compression Before Uploading
If you prefer control or want to avoid using image compression plugins, then you can compress images manually before uploading to WordPress.
Using TinyPNG Online Tool

TinyPNG uses smart lossy compression to reduce JPEG and PNG file sizes by 50-80% with minimal quality loss.
Steps:
- Visit tinypng.com in your browser
- Drag and drop up to 20 images at once onto the upload area
- Wait for compression to complete, then download optimized files
- Upload compressed images to WordPress Media Library as usual
TinyPNG free tier allows 500 images monthly. Paid plans remove limits and add API access.
Using Squoosh App

Squoosh is a free, open-source web app from Google that offers advanced compression controls and format conversion.
Steps:
- Open squoosh.app in your browser
- Upload an image and adjust compression sliders in real time
- Toggle between original and compressed views to check quality
- Export as WebP, MozJPEG, or other formats with custom settings
- Download and upload the optimized file to WordPress
Squoosh is completely free with no account required.
Method 3: Server-Level Optimization with HostWP
Managed WordPress hosting like HostWP includes server-level image optimization that works alongside plugins or manual methods.
HostWP advantages for image compression:
- LiteSpeed Enterprise servers support native WebP delivery without extra plugins
- Built-in caching serves compressed images faster to returning visitors
- QUIC.cloud CDN automatically optimizes and delivers images from 83+ global locations
- NVMe storage accelerates image processing and database queries during optimization
These server-level features work silently in the background, improving performance regardless of your chosen compression method.
Enable WebP Conversion for Modern Browsers
WebP images are 25-35% smaller than JPEG or PNG with equivalent quality. Most modern browsers support WebP, but WordPress does not enable it by default.
Plugin method:
- Use ShortPixel, Smush Pro, or Imagify to enable automatic WebP conversion
- The plugin creates WebP versions alongside original files
- Supported browsers receive WebP; others fall back to original format automatically
Server method (HostWP users):
- HostWP’s LiteSpeed servers can serve WebP images without plugin dependency
- Enable WebP support in your hosting dashboard or contact support for assistance
- This method reduces plugin overhead and improves compatibility with caching systems
Add Lazy Loading to Defer Offscreen Images
Lazy loading delays image loading until visitors scroll near them. This reduces initial page weight and speeds up perceived load time.
Enable lazy loading in WordPress:
- WordPress 5.5+ includes native lazy loading for images automatically
- Verify it is active by checking page source for loading=”lazy” attributes on image tags
- For more control, use a plugin like WP Rocket or LiteSpeed Cache to customize lazy load behavior
Combine lazy loading with compression for maximum performance gains.
Common Pitfalls and How to Avoid Them
Over-compression ruins image quality. Always preview compressed images before bulk applying settings.
Forgetting to back up causes data loss. Create a full site backup before running bulk optimization.
Ignoring mobile performance. Test compressed images on mobile devices, not just desktop browsers.
Disabling compression after setup. Keep automatic compression enabled for new uploads to maintain site speed over time.
Troubleshooting Quick Reference
Problem: Images look blurry after compression
Fix: Switch to a less aggressive compression setting or use Glossy/Lossless mode
Problem: WebP images not displaying in some browsers
Fix: Ensure your plugin or server is configured to serve a fallback JPEG/PNG for unsupported browsers
Problem: Bulk optimization stalls or fails
Fix: Increase PHP memory limit via wp-config.php or contact your host for server resource adjustments
Problem: Page speed does not improve after compression
Fix: Clear all caching layers (plugin, server, CDN, browser) and retest with Google PageSpeed Insights
FAQ: Compress Images on WordPress
How do I compress images in WordPress without plugins?
Manually compress images using free tools like TinyPNG or Squoosh before uploading. Enable native WordPress lazy loading and use a hosting provider with server-level optimization like HostWP for additional speed gains.
Does compressing images reduce quality noticeably?
Modern compression tools use smart algorithms that reduce file size 50-80% while preserving visual quality. Always preview compressed images before bulk applying settings to ensure acceptable results for your audience.
What is the best free image compressor for WordPress?
Smush free version offers unlimited lossless compression for images under 5MB. For more aggressive compression, TinyPNG online tool provides excellent results with a generous free tier of 500 images monthly.
Should I convert images to WebP format?
Yes, WebP images are 25-35% smaller than JPEG or PNG with equivalent quality. Enable WebP conversion through your optimization plugin or hosting provider to serve modern formats automatically to supported browsers.
How much faster will my site load after image compression?
Most sites see 30-50% faster load times after proper image optimization. Actual gains depend on image count, original file sizes, and other performance factors like caching and CDN usage.
Can I undo image compression if I do not like the results?
Always keep original images backed up before compression. Most optimization plugins store originals temporarily, but relying on backups ensures you can restore quality if needed.