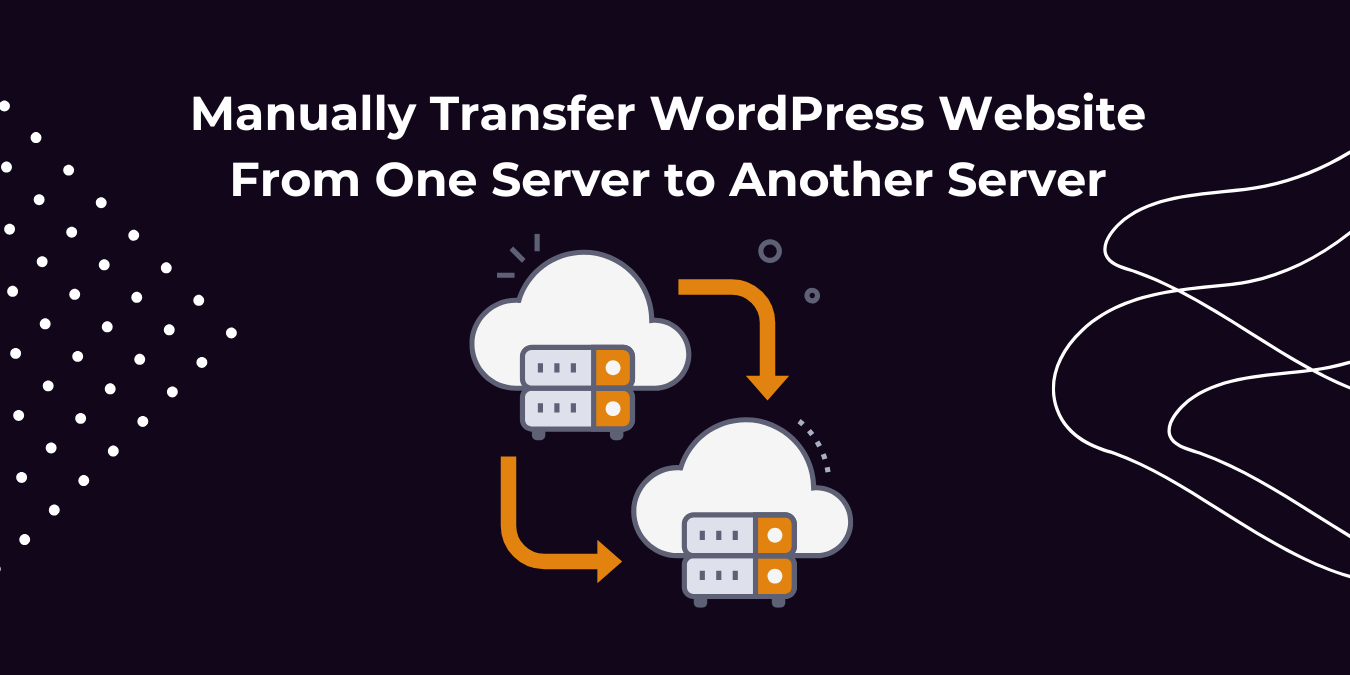
When migrating your website, there’s no shortage of tools and plugins promising to make the process seamless. However, if your website is huge, or if there’s a conflict between your server environments, relying solely on these automated migration plugins can lead to frustrating errors or incomplete transfers. This is where taking matters into your own hands—manually transferring your WordPress files and database—becomes the better option.
Manually migrating your website might sound daunting, but it’s often more reliable, especially if you want complete control over what’s being moved. Doing it yourself eliminates the guesswork and reduces the risk of data corruption or incompatibilities. Here’s why you should consider manual file transfers and how to get it done.
Why Manual Migration Makes Sense
Let’s be honest—automation isn’t always perfect. You know the frustration if you’ve ever encountered a plugin error or partial uploads during a migration. Manual migration offers these key benefits:
- Complete Control: You decide which files, folders, and databases are transferred.
- Error Reduction: You can ensure a cleaner migration by avoiding plugin conflicts or automation hiccups.
- Flexibility: You’re not limited by tool-specific processes, which is especially important for custom-built websites.
- Cost-Effective: Manual migration is free and doesn’t require premium tools or services.
6 Steps to Manually Migrate a WordPress Website
Migrating a WordPress website manually from your local environment to a live server might sound daunting, but it’s absolutely doable with the right approach. By following these six simple steps, you’ll ensure your site goes live without a hitch. Here’s precisely how to make it happen:
Step 1: Export Local WordPress Database
In the first step, you need to export your WordPress database, of the website you wish to migrate. To do that, we’ll be using phpMyAdmin. Log in to your WordPress hosting account and find the option “phpMyAdmin” and click on your WordPress database. Next, click on the Export button from the top menu bar./.

Choosing the custom export method provides you with many options for exporting your database. For a quick export, let’s select Quick and then hit Go. This will download your database to your computer.

Step 2: Modify File Paths (applicable when changing domain name)
When you build your WordPress website on a different domain and want to change the domain name to another, then you will need to modify the file paths. This step is applicable if you wish to change the domain name.
To do that, use any code editor to perform a “find and replace” on the database file you just exported. I’m using Sublime text editor to search and replace “https://example.com ” and replace it with my live URL that is https://www.yourdomainname.com.

Step 3: Create a New Database on Your Hosting Account
Now you’re done with the main part on the local server. It’s time to set up the live environment and finally upload the files so your website can go live. How you set up a new database for your WordPress site will depend on your hosting.
If your hosting service uses cPanel, open it from your hosting account and browse to MySQL Databases.

When you select MySQL Databases, you will be directed to enter a username and password. This new user account will be linked to the new database for your live website.
Note the personal details like your username and password because you’ll need them when configuring the database file in WordPress. The newly created database will have the same name as your chosen username.
Step 4: Upload Database File into New Database
Now that you have a new empty database on the live server, it’s time to upload your database file from your computer. Browse to your host’s phpMyAdmin interface and select Import. Browse and choose the SQL database file you exported from your local website.


Remember, this is a crucial step because it allows you to restore your website exactly as it was on the local installation. Now, all that is left is to edit the wp-config.php file, upload website files, and fix the permalinks, and we’ll be up and running.
Step 5: Fix wp-config.php File
Open the wp-config.php file in your code editor (browse to your original WordPress installation folder). These are the only details you need to change:
- define(‘DB_NAME’, ‘your_database_name’);
- define(‘DB_USER’, ‘your_database_user’);
- define(‘DB_PASSWORD’, ‘your_database_password’);
- define(‘DB_HOST’, ‘localhost’);
Just fill in the settings you defined while creating the database on your live server in Step 3. Fill in the server IP address for the hostname or leave it as localhost if your host says so. I’ll leave mine as localhost as it’s clearly stated here: “To connect to this database in a script running on your web server, you should use “localhost” as the hostname.” When you’re done editing the settings, save and close the file. Don’t change anything else.
Step 6: Perform post-migration cleanup
Once your website is successfully migrated to live hosting, it’s time to begin the WordPress cleanup process.
You will need to log into your new site and ensure that internal links to pages and references to images are updated by replacing old URLs with new ones. You can do this manually. You must also reconfigure your domain’s DNS settings to point to your new hosting provider.
Once your site migration has been completed, all URLs have been updated, and your DNS settings have been reconfigured, you can manually delete website files, databases, and content on the old server.
Why Manual Migration Is Worth It
Manually transferring files from local to live server may take a bit more effort upfront, but it’s well worth it. You’ll have peace of mind knowing your website has been migrated with care, without relying on potentially unreliable tools. Whether you’re launching a small blog or a large e-commerce platform, manual migration ensures your hard work makes it to the live site intact.
So, if you want a clean, controlled, and error-free migration, take the time to do it manually. Your website (and your sanity) will thank you.
.