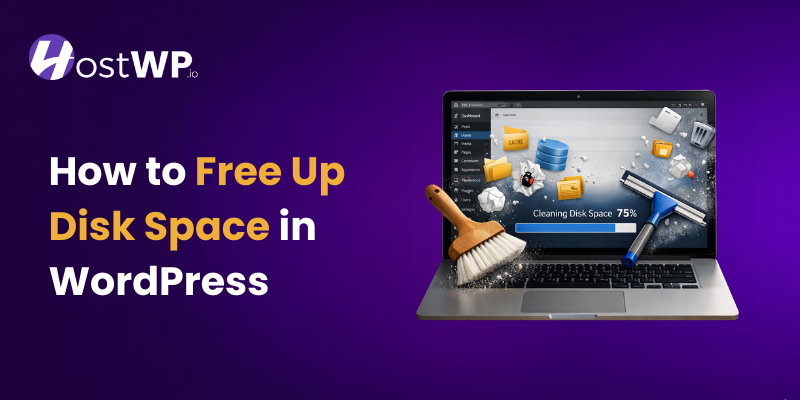
Have you received a “disk space full” warning from your WordPress host? This can force you to either upgrade your web hosting account and even stop you from updating your WordPress website.
This usually happens when your hosting storage limit is almost full. Don’t worry, this is a common issue, especially for growing websites. In this step-by-step guide, we’ll show you how to free up disk space in WordPress in simple and easy language and save your web hosting budget.
Let’s get started.
Why Disk Space Gets Full in WordPress
Before fixing the problem, it’s important to understand why it happens. Disk space in WordPress usually gets full because your website keeps storing more and more data over time. Every image you upload, every plugin you install, every theme you test, and even every post revision adds to your storage usage.
If you don’t clean these regularly, your hosting storage slowly fills up and eventually reaches its limit.
Your WordPress website stores:
- Images and media files
- Themes and plugins
- Backup files
- Cache files
- Old revisions of posts and pages
- Spam comments
Over time, these files keep increasing. If you don’t clean them regularly, your storage gets full. Following, we will list down ways you can follow to clean up disk space on your WordPress websites.
Step 1: Check Your Current Disk Usage
First, you need to see how much space you are using.
- Log in to your hosting account (cPanel or hosting dashboard).
- Go to Disk Usage.

The Disk Usage section in cPanel helps you quickly identify how much storage your account is using and which folders are consuming the most space. By checking the File Manager, you can see the size of each directory and locate large files that may be taking up unnecessary storage.
This makes it easier to manage your hosting space and free up disk usage when needed.
Most of the time, the public_html folder (or your website folder) is using the maximum space.
This will give you an idea of where the problem is and which website you can start cleaning up to free up maximum disk space.
Step 2: Delete Unused Themes and Plugins
Many beginners install themes and plugins just to test them, and then forget to delete them.
Here’s how to clean them:
- Go to your WordPress Dashboard.
- Click on Appearance → Themes.

- Delete all unused themes (keep only the active one and maybe one default theme as backup).

- Go to Plugins → Installed Plugins.

- Deactivate and delete plugins you are not using.

Unused themes and plugins still take space, even if they are inactive.
Step 3: Clean the Media Library
Images usually take up the most space on a WordPress website. Removing unwanted images and compressing images can free up a lot of disk space.
To clean it:
- Go to Media → Library.

- Delete images that are not used anywhere.

- Remove duplicate images.
Be careful not to delete images that are used in posts or pages.
You can also use image optimization tools to reduce image size without reducing quality.
Step 4: Clear Cache Files
Cache files are created to make your website faster. But sometimes, they take a lot of storage.
If you are using a caching plugin, open its settings and click on:
- Clear Cache
- Delete Cache
- Purge All Cache
You can also check the wp-content/cache folder from File Manager and remove old cache files if needed.
Step 5: Delete Old Backup Files
Backup files are important — but they also take a lot of space.
Sometimes backup plugins store backups inside your hosting account.
- Check your backup plugin settings.
- Delete old backups.
- Keep only the latest 1–2 backups.
It’s better to store backups on cloud storage instead of your hosting.
Step 6: Remove Spam and Trash Comments
Spam comments also take space in your database. If your WordPress website has thousands of spam comments, then they will take up significant space and even slow down your database, impacting overall performance of your WordPress website.
To clean them:
- Go to Comments in your dashboard.
- Delete spam comments.
- Empty the trash.
You can also use anti-spam plugins to stop spam in the future.
Step 7: Optimize Your WordPress Database
Over time, your database stores:
- Post revisions
- Auto drafts
- Spam comments
- Deleted items
Cleaning the database can free up space and improve performance.
You can use a database optimization plugin to:
- Remove post revisions
- Clean auto drafts
- Remove trashed content
Make sure to take a backup before doing this step.
Step 8: Delete Unused Files from File Manager
Sometimes, old files remain in your hosting even after deleting plugins or themes.
- Open File Manager in your hosting.

- Go to public_html.

- Check for unused folders.
- Delete unnecessary files like old installation folders or temporary files.
Only delete files if you are sure they are not needed. If you are not sure then you should contact your web hosting support to help.
Step 9: Clean Up Old Log Files
Many WordPress websites generate log files that record activity, errors, and user actions. These logs are useful for debugging and security monitoring, but over time they can grow very large and start consuming valuable disk space on your hosting account.

If you have installed a logging or activity tracking plugin, the plugin may store detailed records of every login, update, and system action. Without proper cleanup, these logs can accumulate quickly and fill up your hosting storage.
To manage this properly:
- Regularly clear old log files from your logging plugins.
- Set a log retention period so logs are automatically deleted after a certain time.
- A good practice is to keep logs for 14 days, or 30 days at maximum, unless you specifically need longer records.
Some popular WordPress logging plugins include:
- WP Activity Log
- Activity Log
- Simple History
These plugins allow you to monitor important activity on your website, but make sure to configure their settings so they automatically remove old logs. This helps maintain security monitoring without wasting unnecessary disk space.void unnecessary storage usage without affecting your website functionality.
Step 10: Upgrade Your Hosting Plan (If Needed)
If your website is growing with more content, products, or visitors, your storage needs will also grow.
If you’ve cleaned everything and still face storage issues, it might be time to upgrade your hosting plan for more disk space.
Bonus Tips to Prevent Disk Space Issues
Here are some simple habits to avoid this problem in the future:
- Compress images before uploading
- Don’t install unnecessary plugins
- Schedule automatic database cleaning
- Store backups on cloud storage
- Regularly check disk usage
Small maintenance every month can save you from big problems later.
Final Thoughts
Running out of disk space in WordPress can be frustrating, but the good news is, it’s easy to fix. Most of the time, the problem is caused by unused themes, plugins, images, cache files, or old backups. By following the steps above, you can quickly free up disk space and keep your website running smoothly.
If you make it a habit to clean your site regularly, you won’t face this issue again.
If you want to avoid storage issues in the future, choose hosting that offers:
- NVMe fast storage
- Proper log management
- Built-in caching
- Advanced security
- Regular monitoring
Platforms like HostWP.io provide optimized WordPress hosting with LiteSpeed, Redis, and smart server configuration to help reduce unnecessary storage usage and improve performance.
Keeping your WordPress clean is not hard — you just need regular maintenance and the right hosting partner.